
The first time I packed a cooler for a three-day weekend with three grandkids, I did it all wrong. I crammed the food in, stacked the drinks on top, and by Saturday noon the ice was mostly water and the sandwich meat was floating. We ate warm sandwiches for two days, and I heard about it the whole ride home. I made every mistake a person can make with a cooler, and none of them were the cooler's fault.
Over the years I tried every fix I could think of. I bought the fancy inserts and the battery fans. I wrapped the cooler in a blanket. Some of it helped a little, and most of it was wasted effort, because I was treating the symptom instead of the cause. The cause was simple: I was packing the cooler like a grocery bag instead of a system. The heart of my system now is the Coleman Xtreme Rolling Cooler, the wheeled one, because my knees are 63 years old and so is the rest of me. But the cooler is only half of it. How you layer it matters just as much as what goes inside. Here is the whole routine, the way I would walk you through it at the campsite.
Start with a cooler that can handle the weekend
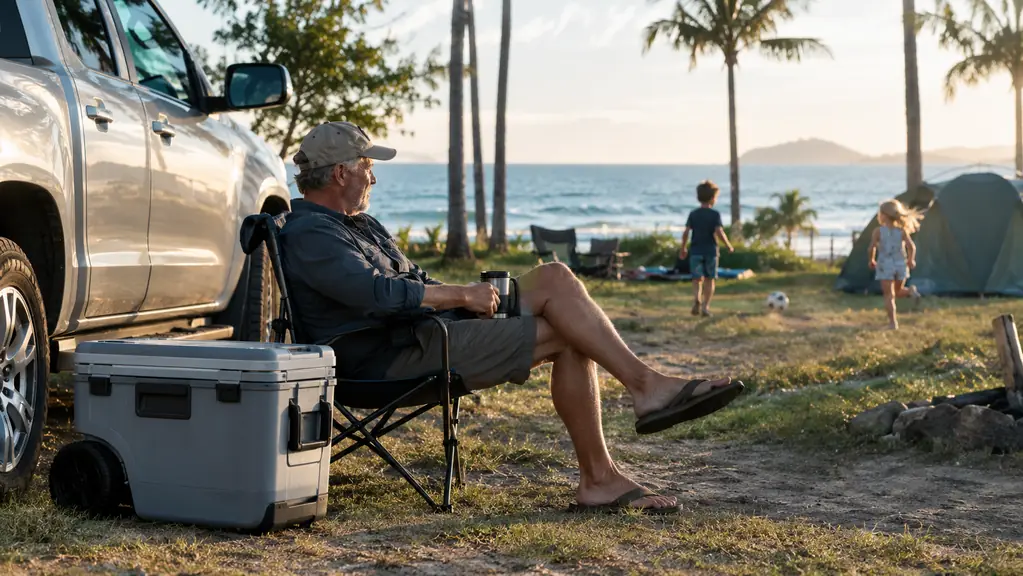
The Coleman Xtreme Rolling Cooler has been on every family trip for the last few seasons, including the long weekends at the county beach parks out here on Oahu with the grandkids. The extra-thick walls keep ice for days, the wheels roll over sand and grass, and the lid is solid enough for a six-year-old to sit on while he puts his shoes on. It is the cooler I tell every parent to start with.
Amazon Check Today's Price on Amazon →Step 1: Pre-chill everything the night before
The single biggest mistake people make is putting warm food into a cold cooler. The ice has to do two jobs then: it cools the food down, and then it keeps it cold. That is twice the work, and it melts twice as fast. So the night before the trip, the kitchen floor becomes the packing station. The cooler comes in from the garage, the drinks go in the fridge, and anything that can freeze goes in the freezer.
Water bottles become ice packs. Juice boxes become ice packs. The ground beef for Saturday's chili goes in the freezer flat, so it thaws slowly and acts as a cold brick on the way out. I even drop a couple of bags of ice into the cooler itself the night before, just to bring the walls down to temperature. It sounds like a lot of steps, but it is ten minutes of work that saves you a whole bag of ice on day two.
The trick is to think of the cooler as a refrigerator that happens to be portable. A refrigerator starts cold and stays cold. If you loaded a refrigerator with warm groceries and unplugged it, it would not keep anything cold for long either. Same idea here. Everything that goes into the cooler on Saturday morning should already be at refrigerator temperature or colder.
Step 2: Build the cold floor first
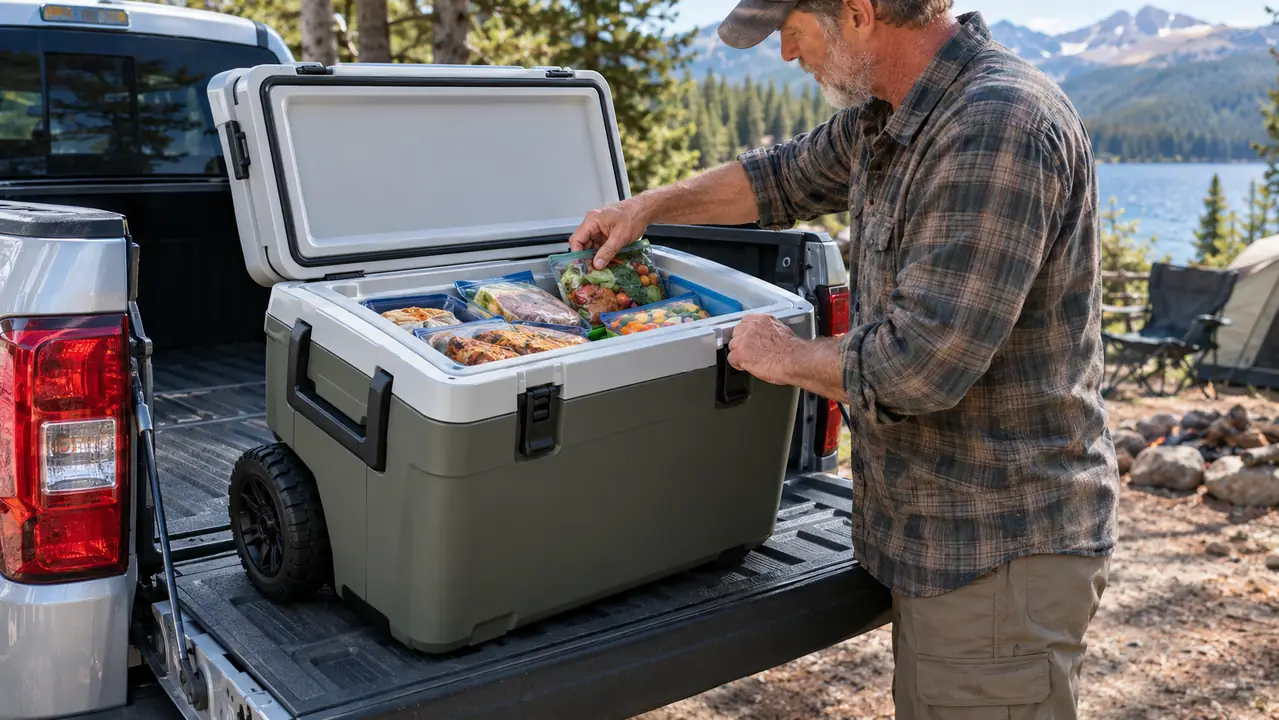
Open the cooler and put down the layer that has to stay cold the longest. I use the big block ice when I can find it, because a block melts slower than cubes and takes up less wasted space. On top of that goes the raw meat, sealed in leak-proof containers and then in a plastic bag, because nothing ruins a weekend like raw chicken juice on the juice boxes.
Then come the things that can take the cold: cheese, butter, yogurt, the stuff that does not mind sitting next to the ice. The goal is simple. The items that need to stay coldest sit closest to the ice, and the items you grab most often sit on top. You are building a layer cake, not a dump truck. The Coleman Xtreme has the depth for this, which is one of the reasons I like it for a crew of kids.
If you have extra room after the cold layers, fill it. A cooler that is packed full stays cold longer than a cooler that is half empty, because there is less air inside to warm up. Frozen water bottles are perfect for this. They fill the gaps, they keep everything else cold, and by Sunday they are cold drinking water for the kids.
Step 3: Pack by meal, not by category
This is the step that changed everything for us. Instead of a bag of bread, a bag of lunch meat, a bag of apples, I pack a labeled bag for each meal. Saturday breakfast has the eggs, the sausage, the tortillas, and the hot sauce in one bag. Saturday lunch has the sandwiches, the chips, and the watermelon in another. When a kid says he is hungry, I hand him the bag for that meal and he does not have to dig through the whole cooler to find it.
It also keeps the lid open for less time, and every minute the lid is open is a minute the cold air escapes. I have used plastic grocery bags, but the reusable ones hold up better and they stand up straight in the cooler. One of the grandkids made a game of it, timing how fast we could get a meal out and close the lid. He got it down to about twenty seconds, which is about the best thing that can happen to ice on a warm weekend.
Label the bags with a marker, not a system only you understand. A seven-year-old can find 'Saturday lunch' a lot faster than he can figure out which bag has the sandwiches. Give each kid a job at meal time, one to hand out the plates, one to grab the bag, one to close the lid. They feel like they are part of the operation, and you keep your back out of the cooler.
Step 4: Give the drinks their own zone
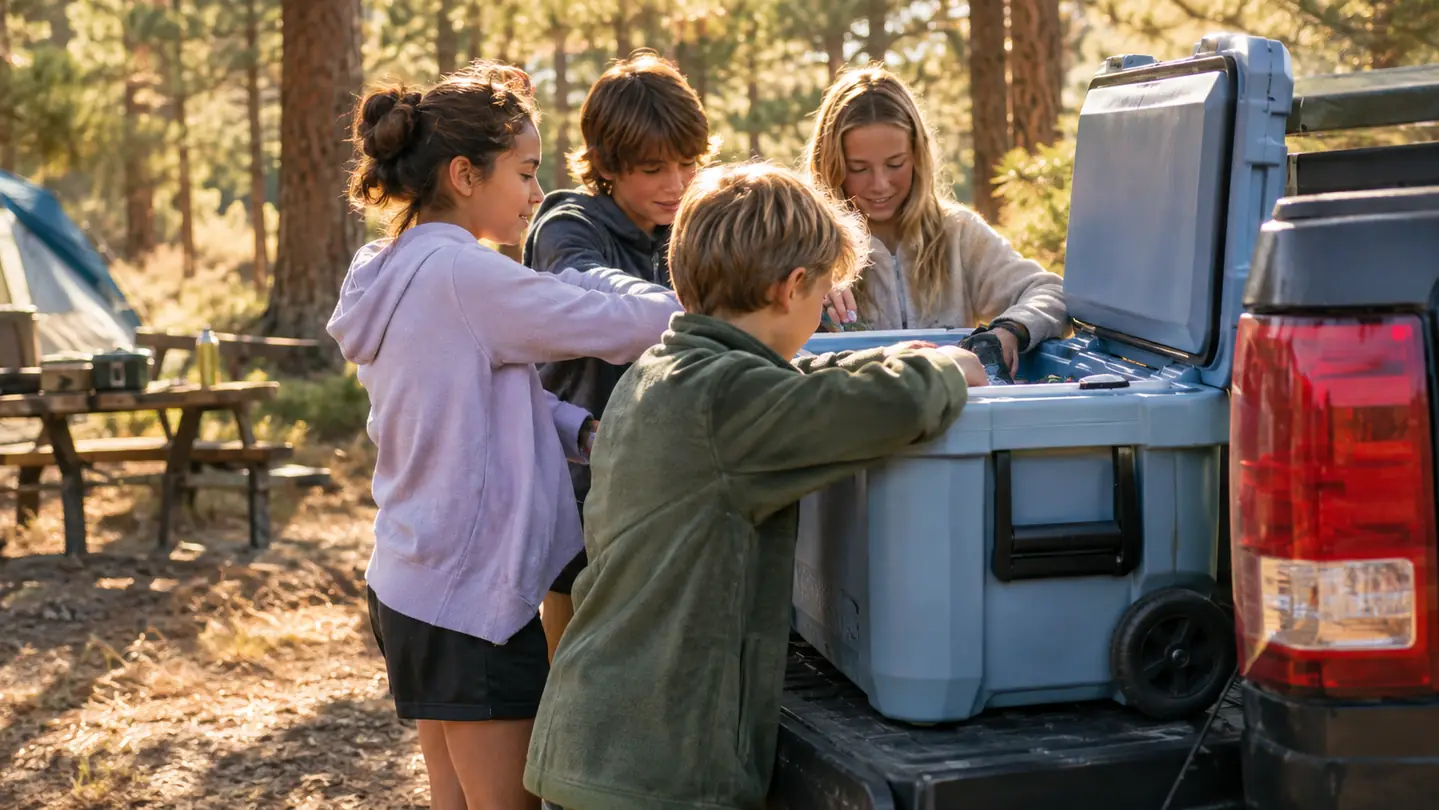
Drinks are the enemy of a food cooler, because kids open the lid for a drink a hundred times a day. Every time they do, the cold air pours out and the ice has to make it back up. So I keep the drinks somewhere else. On our trips, the drinks ride in a smaller cooler on the tailgate, the cheap one we do not care about, and the Coleman Xtreme holds the food. If you do not have a second cooler, pack the drinks in the top layer of the main cooler and make one kid the official drink runner.
Better yet, freeze half the drinks the night before. A frozen juice box keeps the other drinks cold while it thaws, and by lunch it is ready to drink. You get the cold and the drink out of the same item, which is about as close to a free lunch as you will find at a campsite. It is also the easiest way to make sure the drinks are still cold on Sunday, when the ice has been working for two full days.
I put the drink cooler on the tailgate with the lid facing the campsite, and I let the kids get their own drinks. A cooler full of kids grabbing their own juice boxes keeps the food cooler closed, and it teaches them to close the lid behind them. The rule is simple: take one, close the lid, and if you spill it, you clean it up. It took one weekend for the rule to stick.
Step 5: Keep it closed and keep it shaded
The last step is the one most people skip. The cooler does its best work in the shade, so I park it under the picnic table or on the north side of the truck, never in the bed with the sun beating down on it. Then I lay a towel over the top. It sounds like nothing, but a towel over the lid keeps the sun off the plastic and adds a little insulation where the seal is.
Also, stop draining the water. I used to dump the meltwater every morning because it felt like the right thing to do, and I was throwing away the coldest thing in the cooler. Water holds cold better than air. Leave it alone until the trip is over, and the ice that is left will last longer. On our last three-day trip with four grandkids, one bag of ice did the whole weekend, and the Coleman Xtreme deserves a good part of the credit.
One more rule, and this one is for the grown-ups. Plan the day so you open the cooler only when you need it. Grab everything for a meal at one time, close the lid, and carry it to the table. The less time that lid spends open, the longer the ice lasts, and the longer the ice lasts, the more time you spend at the beach instead of the store.
What Else Helps
Once the packing routine is second nature, a few extras make the weekend smoother. I keep a small bin on the tailgate for the things that should never touch ice: bread, bananas, tortillas, the granola bars the kids snack on between meals. They stay in the open air, and the cooler stays for the stuff that actually needs cold.
I also pack a couple of frozen water bottles on top of the food as a second lid of cold. They fill the empty space, they keep the cold air from moving around, and when they thaw they are cold water for the kids. And I empty the cooler the night we get home, wipe it out, and leave the lid cracked open in the garage. A clean cooler with the lid open is a cooler that does not smell like last weekend, and it is ready for the next one.
If you camp in a spot where the afternoon sun is brutal, a cheap reflective windshield shade over the cooler works better than any fancy cover. I have used one for years. It keeps the sun off the lid, and on a hot afternoon at a beach park it is worth more than most of the accessories you can buy.
One more thing I learned the hard way: have the first meal easy to grab without opening the big cooler. I keep a separate small bag with the sandwiches for the first lunch, or I pack them on top so I can pull them out in one motion. The kids are hungry the minute the truck stops, and the first hour at camp is chaos. The less time you spend digging in the cooler while three kids wait, the smoother the whole setup goes.
One bag of ice carried us through the whole three-day weekend once I started layering from the bottom. That never happened with the old cooler.
The Bottom Line
A long weekend with kids is not about having the biggest cooler or the most expensive one. It is about having a system, and a cooler that does not fight you. The Coleman Xtreme Rolling Cooler has been mine for a while now, and it has rolled over sand, sat under picnic tables, and held a weekend of food for a truck full of grandkids. Pack it cold, layer it right, keep it shut, and you will spend your weekend making memories instead of running to the store for more ice.
Make the next long weekend the easiest one yet
The Coleman Xtreme Rolling Cooler is the one I reach for every trip. Pack it the way I described and it will carry your family through the weekend on a lot less ice than you expect.
Amazon Check Today's Price on Amazon →